|

How
to Build a Rodster
Street Rod in Five Easy Steps!
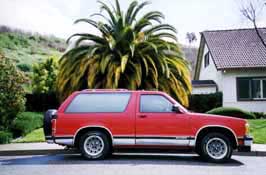
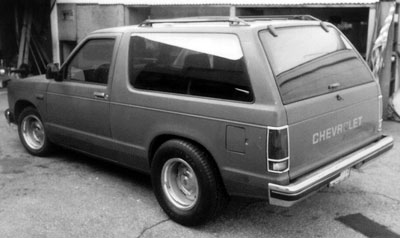
1. Buy an old S10 Blazer.
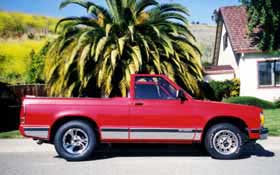
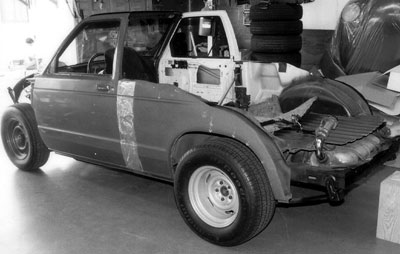
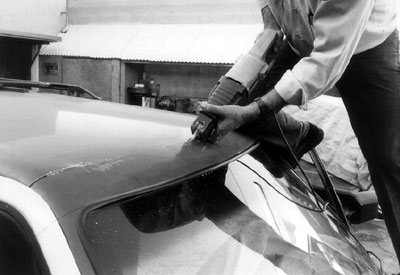
2. Cut that ugly roof off.
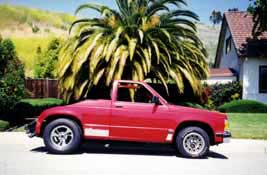
3. Cut some more stuff off.
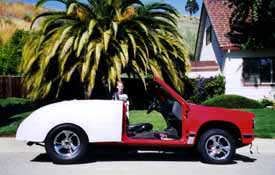
4. Add the Rodster kit pieces.
5. Drive to the paint shop.
Okay,
there's a little bit more to it than that,
but wait till you see who
built this one...
But -- "Is it that easy?" Isn't that what you really want to know?
It is. We've interviewed some of our Rodster owners and builders and their comments are enlightening.
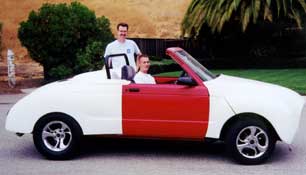
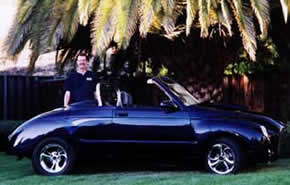
In addition, one family has thoroughly documented the buildup of their Rodster project with a myriad of photographs. Check them out.
That's what it looks like in the real world.
What
is the Rodster®?
©
Copyright Caroselli. No images or text located anywhere on this
site may be reused or republished without expressed written permission
from Rodster, Inc., d.b.a.: Caroselli Design. The Rodster Street
Rod design is protected by U.S. Patent
# D450,284. "Rodster®" is a registered
trademark of Caroselli Design. |

The Rodster® Street Rod Overview and Buildup Procedure.
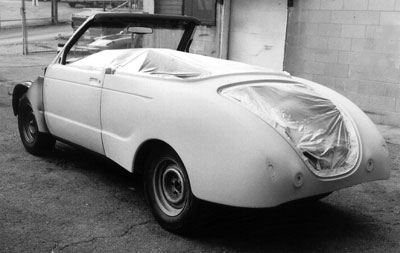
The Rodster Street Rods are body re-styling kits that transform a modern production vehicle (‘83-‘94 Chevy S-10 Blazer -2-dr.) into a cool “newstalgic” street rod. The idea of any re-body is to take advantage of as much of the host donor vehicle as possible. The state-of-the-art design and engineering of our ultra-high-quality kits make for a quick and easy build, and results in a street rod that has a lot fewer build-up and ownership headaches. It’s all about having more fun.
The following is only a GENERAL OVERVIEW of a buildup (for complete details, please purchase our 50+ page Rodster Street Rod STEP-BY-STEP assembly manual. Of course, refundable with the purchase of a Rodster Street Rod kit. (Quick-download of assembly-manual order form “PDF”.)
CONCEPT:
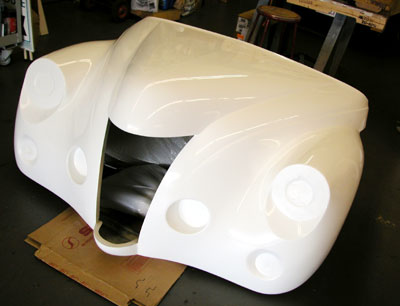
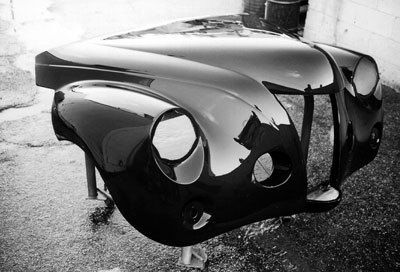
Our basic BODY KITS contain the proprietary fiberglass pieces that make up a Rodster Street Rod. Our COMPLETE KITS come with everything you need to convert an ‘83-’94 Chevy S-10 Blazer except misc. fasteners/glues, wheels/tires, and a paint job (these kits are so complete that they come with a lowering kit, radiator/electric fan kit, headlight assemblies, battery re-locator kit, grilles, etc.).The Original model has an oval grille opening with a powder-painted aluminum grille (it is our most affordable model due to the reduced cost of this simpler front-end treatment).
The Super Deluxe model has a more vertical grille opening with a chrome plated grille, and the round chrome mini-grilles on either side of it.
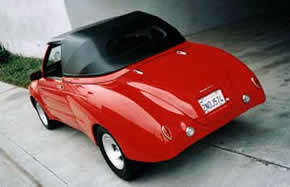
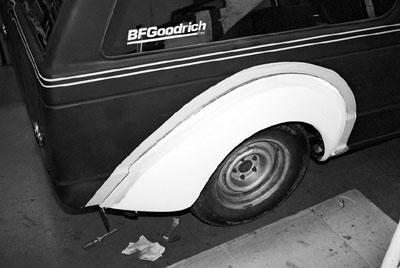
We offer an optional lift-off Carson Top for our ROADSTER, and optional Rear Fender Flares and Visor for our SEDAN DELIVERY.
QUALITY:
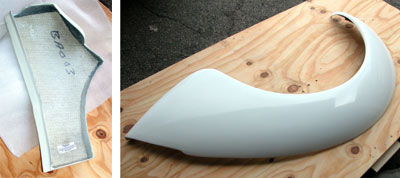
We use ultra-high-quality hand-lay-up techniques for out parts. We use high-end orthothalic resins, woven cloth, white gel coat, wide structural returns & flanges, with strategically-placed carbon fiber and core-mat reinforcement. These patented parts are carefully engineered and built to exacting specifications so they fit well. Our parts are more than twice as expensive to produce, but you benefit from parts that fit better and DON’T have the “wavy” surface irregularities that are typically associated with fiberglass parts.
MECHANICAL:
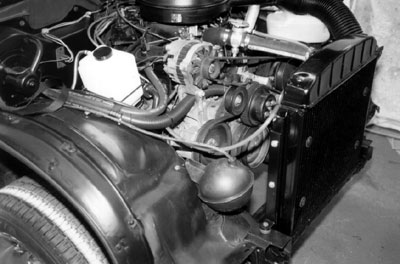
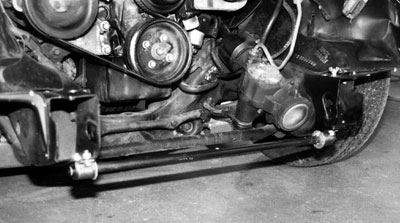
Find a good ‘83-‘94 Chevy S-10 Blazer -2-dr. (see donor), and go through it to make it mechanically healthy (i.e. double-check brakes, transmission, engine compression, etc.).The only mechanical modifications are: lower suspension (–3”) front and rear, fit wider wheels/tires (and align), trade-out radiator and install e-fan + controller, and relocate battery to rear.
NO welding is necessary with our kit. As a lot of the original donor vehicle is retained, you also DON’T have to wire a dash, hang doors, fabricate a braking system, fit a windshield with wipers, hoist a engine/tranny into a chassis, etc. – in other words, you have the modern goodies we all like, and avoid the expense and headaches of retrofitting this stuff into a 60-year-old car.
REMOVAL:
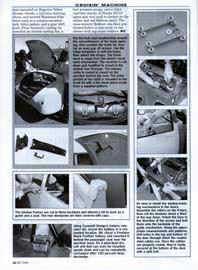
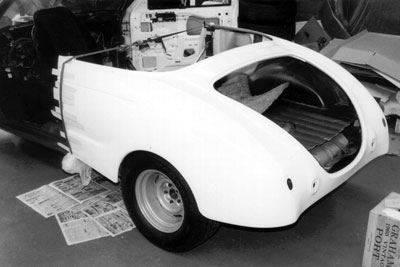
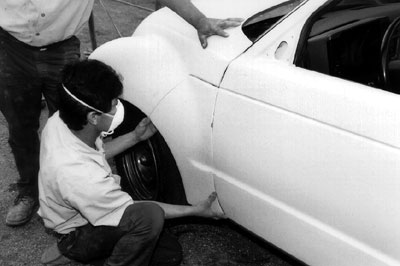
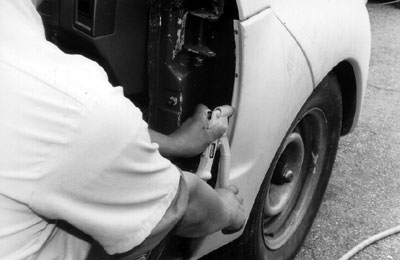
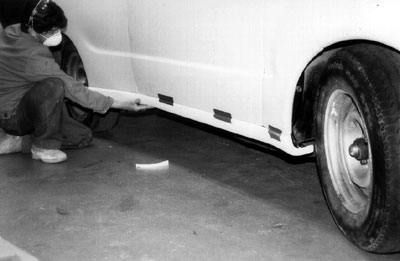
You next remove the S-10 Blazer’s front-end pieces: bumper, grille, hood, fenders, radiator support, radiator, battery tray, and trim front frame horns. And on the Open Roadster you also remove the rear bumper, tailgate/hatch, rear seat, rear-side glass, trim rear frame horns, and cut away most of the rear body.INSTALLATION:
Install Rodster Street Rod kit pieces: attach front hinge supports, trim front fenders, attach 1/4 panels and latches, hang tilt-nose on hinge bar, fit rocker covers, fit lights, and grille.On the Sedan Delivery you also attach the optional rear fender flares (using "vette glue"), and/or the optional visor.
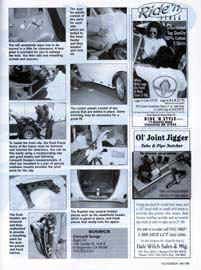
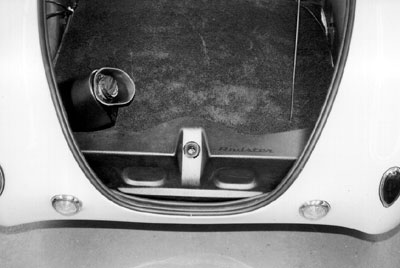
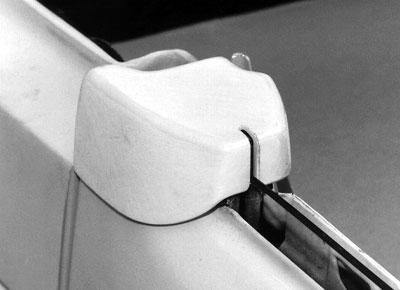
On the Open Roadster you also attach the rear body section (using "vette glue" and urethane mounts), fit the trunk with its hinges and latches, install gas filler U-bend, tonneau, and windshield header. You now install "window-tracking mechanism" in door and trim window frame on door, then fit door caps, sport-styling hoop (does NOT offer roll-over protection), and re-install OEM seat belts.
PAINT:
Put a custom paint job (most customers farm this out) on your RodsterÆ Street Rod (figuring out the color and graphics/flames is lots of fun). Affix the genuine “Rodster® Street Rod” indicia.PHOTOS FROM OUR MANUAL(here are only a few of the over 100 photos/illustrations):

For prices see Rodster Street Rod Prices.
(Also see article below.)
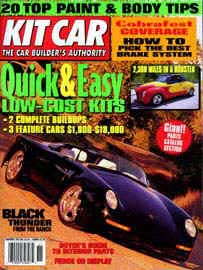
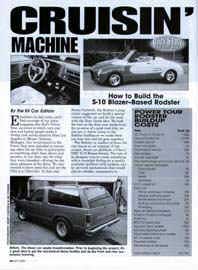
The Buildup
Process is featured in this issue of
Kit Car Magazine.
(click on the cover to see the article, or any page to see larger versions of the photos)